
Are Countertop Seams Normal? The Complete wikiHow Guide to Seam Placement, Hiding & Repair
Written & Reviewed by AGS Stones Craftsmen
Master Stone Fabricators & Licensed Cabinet Contractors • Duluth, GA
Key Takeaways: Quick Summary
- ✓Countertop seams are 100% normal and structurally necessary in most kitchens exceeding 10 feet, turning L-shapes, or featuring oversized islands exceeding slab quarry dimensions.
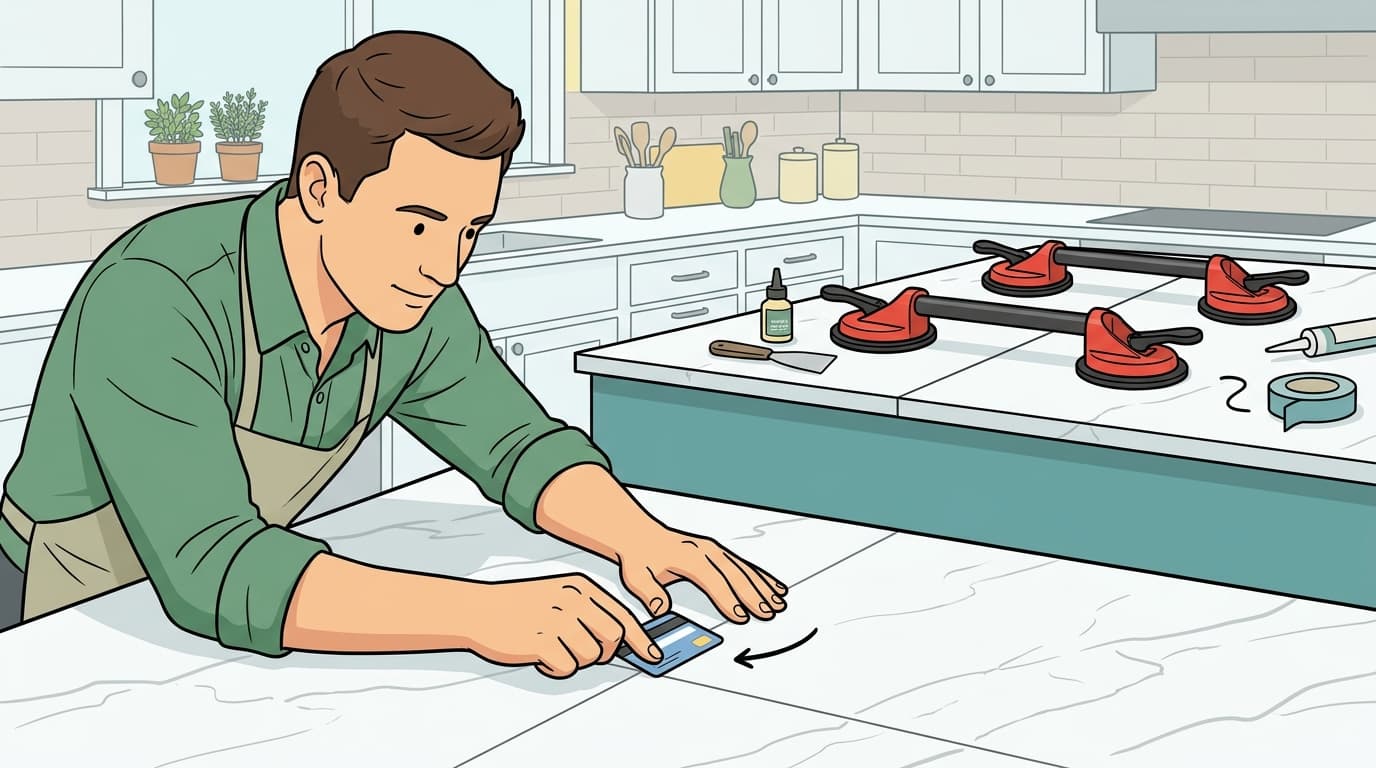
- ✓The Natural Stone Institute (NSI) industry standard specifies seams must not exceed 1/16-inch wide (the thickness of a standard credit card) with vertical lippage under 1/32-inch.
- ✓Professional fabricators prefer placing seams at the kitchen sink or cooktop cutouts, reducing the visible joint line by over 80% to just 3 to 4 inches at the front and rear rails.
- ✓Modern stone fabrication uses digital laser templating and Slabsmith vein-matching to align movement and pattern grain direction across adjacent slabs before waterjet cutting.
- ✓High-end fabricators join seams using custom color-matched two-part epoxy and mechanical vacuum seam setters that pull joints perfectly flush and level.
The 3-Second Verdict: Are Countertop Seams Normal?
Yes, countertop seams are completely normal, structurally necessary, and an expected hallmark of natural granite, marble, quartzite, and engineered quartz installations. Unless your kitchen island or linear perimeter counter is smaller than standard slab dimensions (roughly 9.5 to 10.5 feet long), seams are physically mandatory to safely transport, navigate doorways, and install heavy stone without catastrophic cracking.
Method 1: Why Countertop Seams Are Necessary (The Stone Reality)
When homeowners envision their dream kitchen remodel in Atlanta, Alpharetta, or Duluth, they often imagine a single, uninterrupted slab flowing endlessly across their perimeter counters and massive waterfall island. However, architectural physics, quarrying limits, and residential delivery constraints dictate that most kitchens will feature at least one or two seams.
Physical Slab Sizes
Natural granite and quartzite blocks quarried from mountains in Brazil or Italy average 110" to 125" wide by 65" to 75" tall. Engineered quartz slabs average 120" x 55" (standard) or 130" x 65" (jumbo). If your continuous counter run is 14 feet, no single stone block on Earth exists to cover it without a seam.
Weight & Home Navigation
A standard 3cm (1.25") thick stone slab weighs between 18 and 22 pounds per square foot. A full kitchen island can easily weigh 600 to 900 lbs. Attempting to maneuver an oversized unbroken “L-shaped” piece through standard 36-inch front doors, tight 90-degree hallways, or stairs will shatter the stone under its own cantilevered weight.
Thermal & Structural Relief
Homes naturally expand, contract, and settle with Georgia's humid summers and cool winters. Solid stone has zero tensile flexibility. A strategically placed seam filled with flexible knife-grade epoxy serves as an expansion joint, preventing stress cracks from migrating across fragile corners or cooktop rails.
Method 2: The wikiHow Diagnostic Tests (Is Your Seam Acceptable?)
How do you know if your installer did a flawless job or cut corners? Follow this 3-step inspection checklist recognized by the Natural Stone Institute:
Step 1: The Credit Card Width Test
Testing horizontal gap dimension
Take a standard plastic credit card or driver's license and try to insert the thin edge vertically into the seam line:
The credit card cannot enter the gap at all. The joint is a tight, razor-thin line (approx 1/32") filled completely with resin. This is master-grade fabrication.
The credit card easily slips into the gap, or the seam looks like a thick, cavernous canyon. Seams over 1/16" wide indicate blunt bridge saw blade chatter or poor clamping.
Step 2: The Fingernail Lippage & Smoothness Test
Testing vertical height alignment across slabs
Gently slide your fingertips or fingernail perpendicularly across the seam from left to right and right to left. Also slide a coin (like a quarter) flat against the surface:
Your fingernail slides smoothly across without snagging. While you can feel a subtle change in texture (resin vs stone polish), there is no distinct vertical ledge.
Your fingernail or coin violently catches on an edge. One slab sits higher than the other, creating a trip hazard for glasses and bowls. This occurs when cabinets are not shimmed flat or installers didn't use vacuum leveling pods.
Step 3: The Color Tint & Polish Test
Testing color blending and aesthetic finish
Stand 3 to 4 feet back from the countertop in normal kitchen lighting (natural window daylight or overhead 3000K recessed lights):
The epoxy adhesive has been custom-tinted to match the predominant background shade and accent mineral flecks of the slab. It does not pull the eye away from the kitchen design.
The epoxy was left generic translucent or raw yellowish-white, standing out like chalk on dark stone or like gray mud on pure white quartz.
Method 3: Optimal Seam Placement (Where SHOULD Seams Go?)
Seam placement is not an accident—it is a calculated engineering decision made during the digital templating phase. Here is how master fabricators choose where to place seams to minimize visibility and maximize structural strength:
Centered in the Kitchen Sink Cutout
Because an undermount sink cutout cuts away 30 to 33 inches of stone, placing the seam here reduces the visible joint to just 3.5 inches at the front rail and 3.5 inches at the rear faucet deck. You eliminate 85% of the seam length! When properly reinforced with an under-rail steel bar or fiberglass rod, this is the strongest, cleanest placement.
Centered in the Cooktop Cutout
Similar to the sink, a drop-in cooktop cuts out the vast majority of the stone. The metal flange of the cooktop often overlaps the rear rail, leaving only a small front rail seam visible.
Straight Butt Joint Offset From Inside Corner
Older fabricators used to cut 45-degree diagonal miter seams right through inside corners, which frequently cracked under house shifting. Modern NSI standards specify cutting a straight 90-degree butt seam offset 12 to 18 inches away from the inside corner, where the cabinet framework offers rock-solid vertical support.
Kitchen Islands (Seamless Whenever Possible)
Any kitchen island up to 10 feet by 5 feet should NEVER have a seam. At AGS Stones & Cabinets, we source jumbo quartz slabs (130" x 65") specifically to fabricate seamless monolithic waterfall islands. If an island exceeds 11 feet, we utilize digital vein-matching (Slabsmith) so the two bookmatched slabs flow together like butterfly wings.
Method 4: How Master Fabricators Make Seams Inconspicuous
The difference between an ugly countertop seam and an invisible, master-crafted joint comes down to five distinct fabrication and installation technologies:
Laser Digital Templating
Hand-cut plywood or cardboard templates cannot account for warped drywall or unlevel cabinet boxes. We use Proliner and LT-2D3D digital lasers that capture millimetric coordinates directly into CAD.
CNC Waterjet Cutting
Cheap handheld circular saws chip stone edges, creating micro-fissures and jagged gaps. Our CNC 5-axis waterjet saws cut true 90-degree pristine joint edges with zero micro-fracturing.
Custom Pigment Chemistry
Our lead installers do not use standard generic glue. They hand-mix knife-grade polyester/epoxy on-site with dry powdered pigments, matching the base color and contrasting veins perfectly.
Vacuum Seam Clamps
We never push slabs together by hand. We lock motorized electric vacuum pods (Gorilla Grips) across the seam, exerting 400+ lbs of lateral pressure to pull the seam hairline-tight while dialing leveling screws flush.
Razor Shave at 45°
As the epoxy reaches a semi-cured “rubbery” state, the technician uses a brand-new single-edge industrial razor blade at a flat 45-degree angle to shave excess resin flush with the factory polish.
Denatured Alcohol Buff
A quick wipe with 0000 ultra-fine steel wool (on granite only) or denatured alcohol wipes away resin residue, leaving both slabs feeling continuous to the touch.
Method 5: How to Clean, Care for & Fix Aging Countertop Seams
Over 5 to 10 years of heavy cooking, crumbs, grease, and cleaning chemicals can affect a countertop seam. Here is the wikiHow care protocol:
1. How to Clean a Darkened Seam
If cooking oils or spice powders have darkened your seam line:
- Mix a paste of baking soda and warm water.
- Apply to the seam line and scrub gently with a soft-bristle nylon toothbrush.
- Wipe clean with a microfiber cloth and warm water. Buff dry immediately.
2. Cleaners That Destroy Seams
Never use harsh acidic or bleach cleaners on countertop seams:
- Avoid Bleach & Vinegar: High acid breaks down epoxy polymers, causing the glue to pit, turn yellow, and crumble out.
- Use pH-neutral soap: Dawn dish soap or specialized stone cleaners (like Stonetech) keep epoxy pliable and shiny.
3. How to Fix a Tiny Chip on a Seam Line
If a heavy pot struck the seam and caused a tiny micro-chip, purchase a clear light-curing acrylic repair kit (like Tenax or ProCaliber). Clean with isopropyl alcohol, fill the chip, cure for 30 seconds with the included UV light, and shave flush with a razor blade.
4. What to Do If a Seam “Pops” or Sinks
If an entire seam line cracks open or one slab drops 1/8 inch due to foundation settling, do not attempt DIY epoxy injection. Call a certified stone fabricator. The technician must inspect cabinet supports, install composite shims underneath, razor out the old glue, and clamp the seam with vacuum pullers.
Countertop Seam Quality: Budget Installers vs. Master Fabricators
| Quality Metric | Budget Subcontractor | AGS Stones & Cabinets (Duluth, GA) |
|---|---|---|
| Seam Width | 1/8" to 3/16" (Noticeable gap) | ≤ 1/16" (Hairline credit card tolerance) |
| Edge Cutting | Manual circular saw blade with visible chips | 5-Axis CNC Waterjet blade (Pristine 90° true joint) |
| Vein Flow / Grain | Random cuts, colliding veins, mismatched flow | Slabsmith digital vein-matching layout pre-approved by client |
| Adhesive | Pre-mixed generic translucent resin or silicone | Custom-tinted two-part knife-grade polyester/epoxy |
| Clamping Method | Masking tape or hand pressure | Motorized vacuum seam clamps with micro-dial levelers |
| Warranty | None or 30-day verbal promise | Comprehensive craftsmanship & fabrication warranty |
Want Flawless, Invisible Seams in Your Dream Kitchen?
Visit our Duluth, GA showroom or request a fast digital estimate. See how our CNC waterjet fabrication and digital Slabsmith vein matching ensure the tightest, cleanest seams in Metro Atlanta!
Serving the Greater Metro Atlanta Community
AGS Stones & Cabinets provides factory-direct fabrication, laser templating, and professional stone installation across all surrounding Georgia neighborhoods:
Common Questions from Homeowners
Can a countertop seam be made 100% invisible?+
No countertop seam in natural stone or quartz is completely invisible like seamless liquid glass. However, an expertly fabricated seam should be inconspicuous and hairline (less than 1/16 inch). With precision CNC waterjet edging and custom-tinted two-part epoxy resin that matches the stone background and mineral flecks, seams become virtually imperceptible from a normal standing distance.
Will a countertop seam centered at the undermount sink leak water into the cabinet?+
No, when installed by professional fabricators. Premium two-part knife-grade polyester or epoxy creates a chemical weld that is completely waterproof and stronger than the natural stone itself. Furthermore, undermount sinks are mechanically clamped to the subtop with steel brackets and bedded in 100% pure waterproof silicone.
How wide is an acceptable countertop seam by industry standards?+
According to the Marble Institute of America and Natural Stone Institute (NSI) standards, acceptable countertop seams range between 1/32 inch (hairline) and 1/16 inch (approximately the thickness of a credit card). Seams wider than 1/16 inch or displaying uneven vertical lippage where one slab sits noticeably higher than the other fail quality standards.
Can a dirty, discolored, or separated countertop seam be repaired?+
Yes. If a seam separates due to home foundation settling or cabinet shifts, a stone technician can safely scrape out the old deteriorated adhesive with a razor blade, level the slabs with vacuum pullers, and re-inject freshly tinted epoxy. Surface dirt and grease can be cleaned with a baking soda paste and a soft nylon brush.
How do fabricators handle seams on quartz slabs with bold veining (like Calacatta)?+
Quality fabricators like AGS Stones & Cabinets use digital photogrammetry software (Slabsmith) during the templating phase. High-resolution digital photos of your exact slabs are loaded into 3D software so you can review and approve exactly how veins and patterns flow across the seam line before a single cut is made.
Ready to Experience the AGS Stones Difference?
Skip the retail middlemen. Visit our Duluth showroom to hand-select your exact full-size stone slabs, or schedule a free in-home digital laser templating estimate.
Explore Related Services & Local Guides
Core Fabrication Services
Local Service Hubs
Remodeling Guides
- → How to Clean and Seal Granite Countertops: The Step-by-Step Care Guide
- → Granite vs. Quartz: Which Stone Does Your Kitchen Actually Need?
- → How to Prepare Your Kitchen for Countertop Installation: The Ultimate Checklist
- → How to Clean & Care for Custom Cabinets: Keeping Finishes Like New
- → How to Measure Countertops for a Fast & Accurate Estimate: Step-by-Step
- → How Much Do Granite & Quartz Countertops Cost in Atlanta & Duluth, GA?
- → How to Choose the Best Countertop Edge Profile: Eased, Bullnose, Ogee & Waterfall Guide
- → How to Fix a Chip in Granite or Quartz Countertops: The DIY Repair Guide
- → How to Remove Stains from Quartz Countertops: The Complete wikiHow Guide
- → How to Match Countertops with Cabinets: The Complete Designer Guide
- → Quartzite vs. Quartz Countertops: The Complete Durability, Heat & Care Guide
- → Can You Put Hot Pans on Quartz Countertops? The WikiHow Heat Safety & Burn Repair Guide
- → How Far Can Countertops Overhang Without Support? The Complete wikiHow Island & Bar Bracket Guide
- → 2cm vs. 3cm Countertops: Which Thickness Should You Choose? (Plywood Subtop, Edge Profiles, Strength & Cost Guide)
- → Honed vs. Polished vs. Leathered Countertops: Which Stone Finish Is Best for Your Kitchen? (Texture, Cleaning, Fingerprints & Cost Guide)
- ✦ Return to All Guides & How-Tos
Related How-To Guides
Continue learning with more step-by-step homeowner tutorials
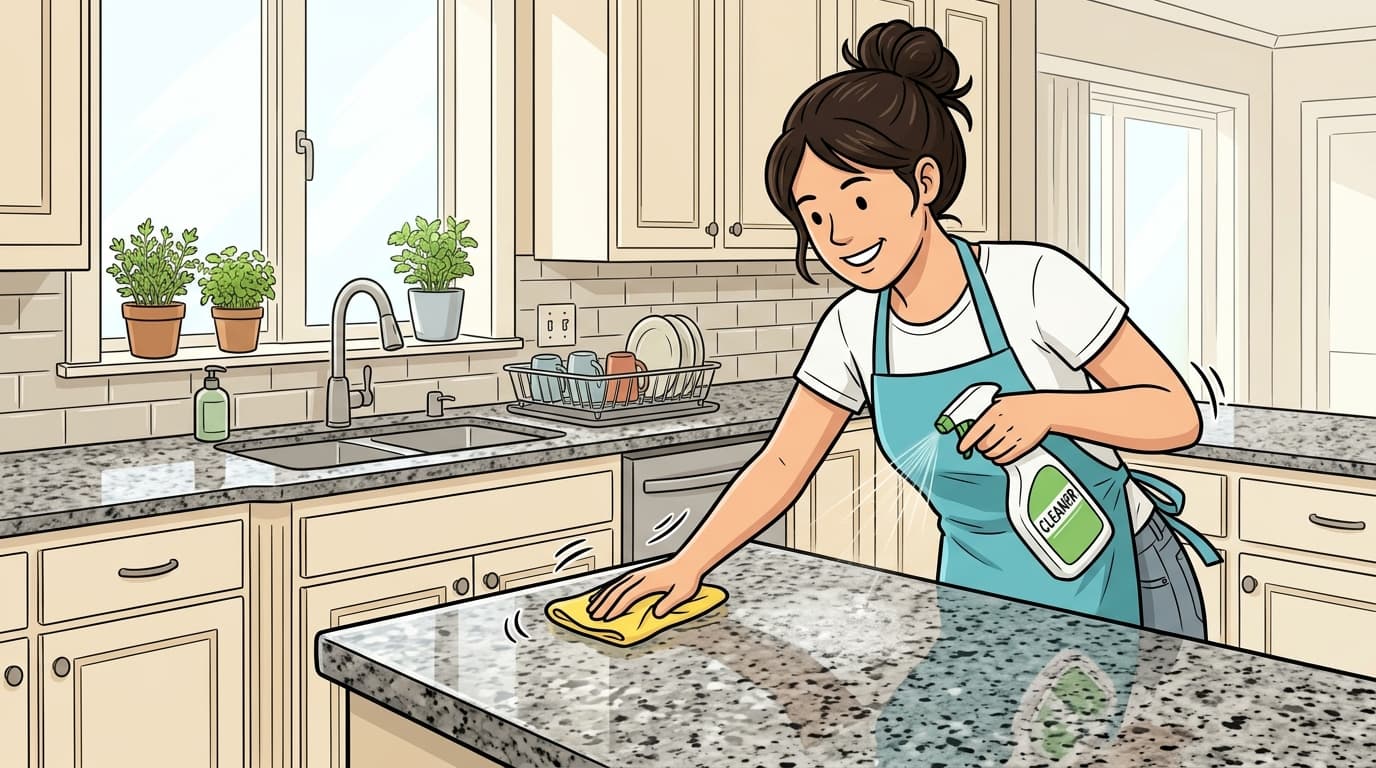
How to Clean and Seal Granite Countertops: The Step-by-Step Care Guide
Step-by-step wikiHow-style guide to cleaning, sanitizing, and sealing natural granite. Master the water droplet test, remove stubborn water rings, and protect your stone factory-fresh.
Read Guide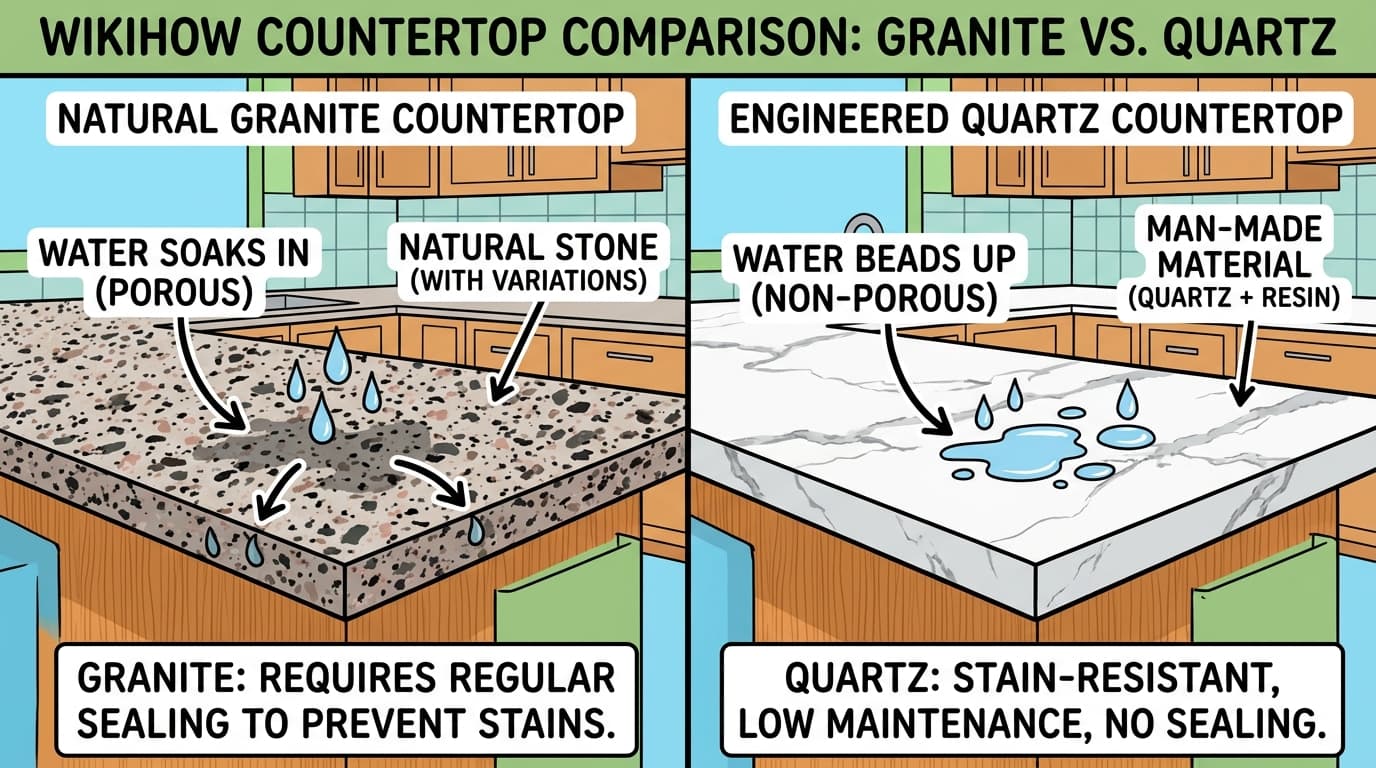
Granite vs. Quartz: Which Stone Does Your Kitchen Actually Need?
Confused between natural granite and engineered quartz? Learn the real differences in heat resistance, daily maintenance, seam visibility, and price per square foot.
Read Guide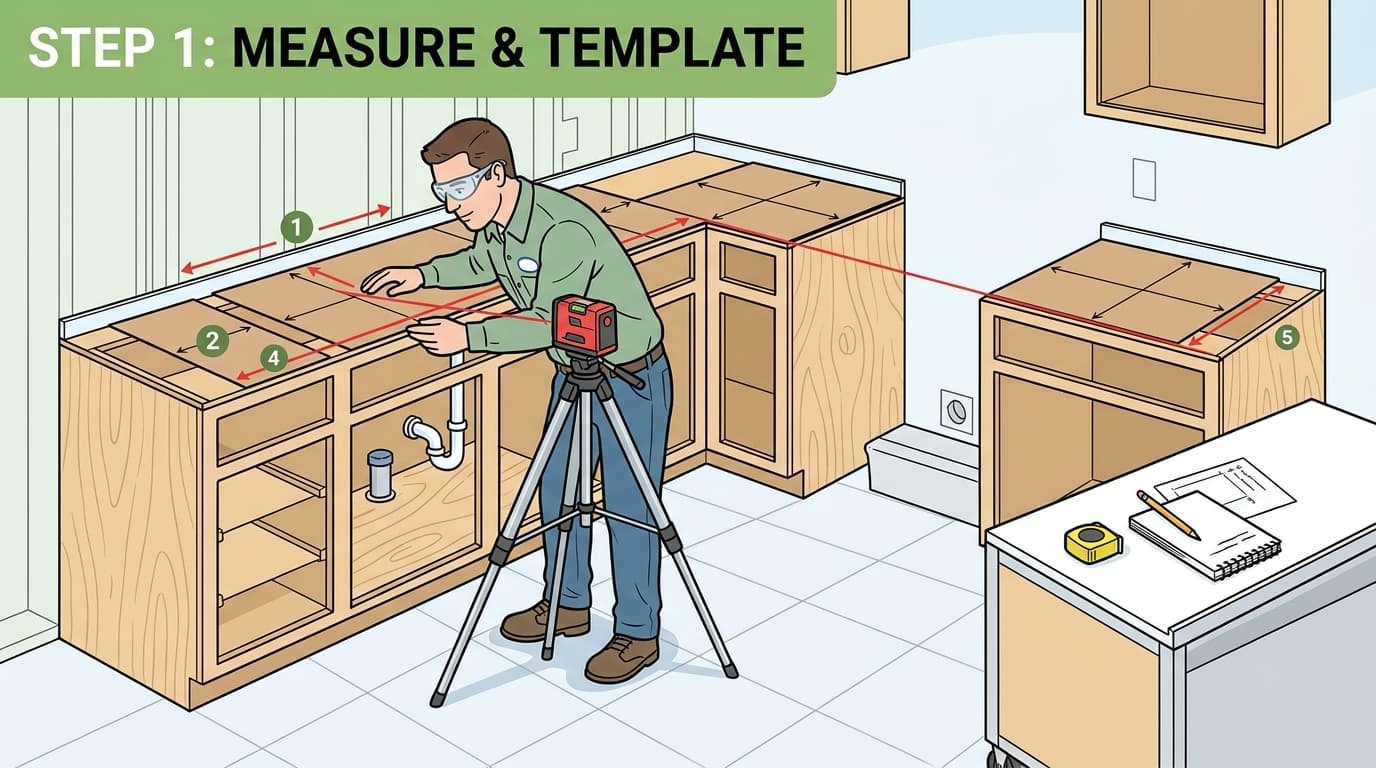
How to Prepare Your Kitchen for Countertop Installation: The Ultimate Checklist
Step-by-step preparation guide for laser templating and install day. Learn how to clear base cabinets, coordinate plumbers, disconnect sinks, and ensure a flawless fit.
Read Guide