
How to Fix a Chip in Granite or Quartz Countertops: The DIY Repair Guide
Written & Reviewed by AGS Stones Craftsmen
Master Stone Fabricators & Licensed Cabinet Contractors • Duluth, GA
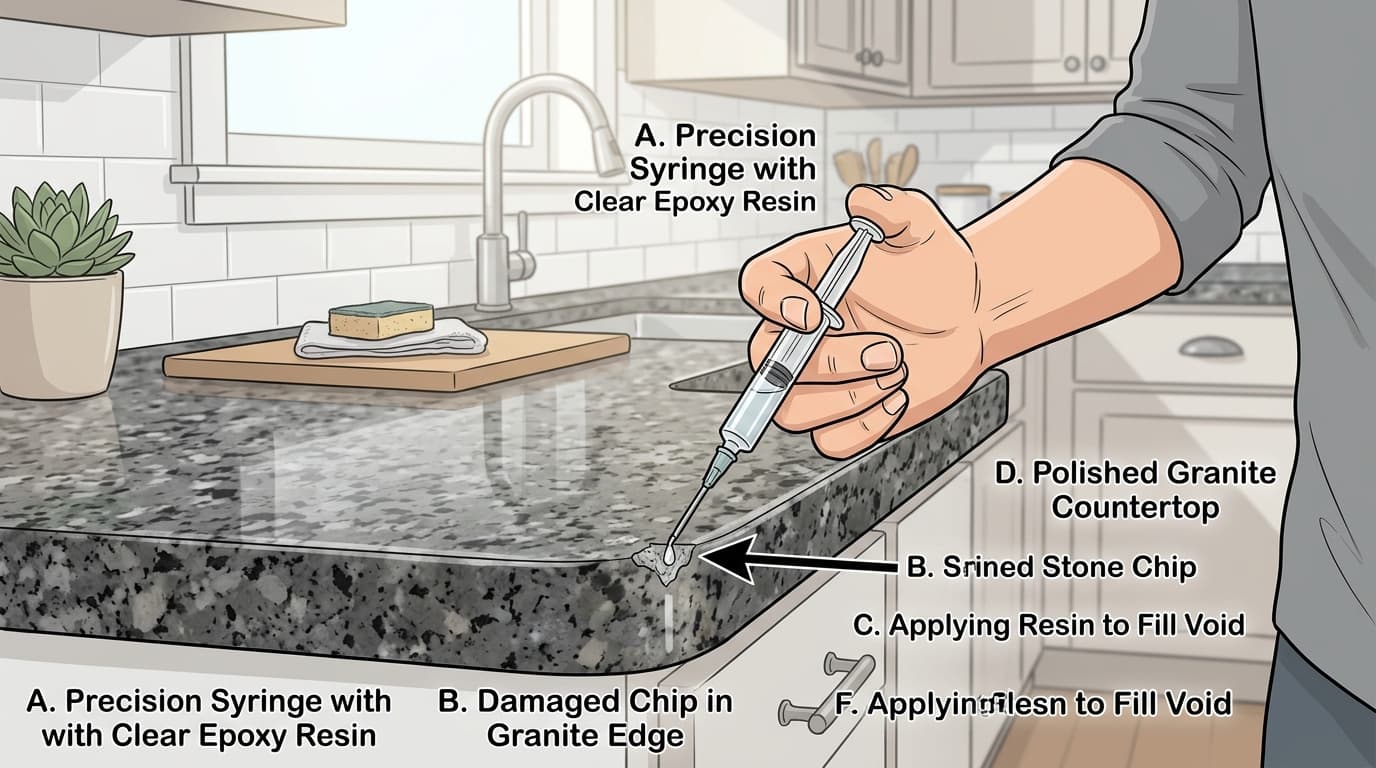
Key Takeaways: Quick Summary
- ✓Save the broken stone chip if possible: natural granite and quartz fragments can be re-bonded almost invisibly using thin cyanoacrylate (Super Glue) or clear knife-grade epoxy.
- ✓For missing chips under 1/2 inch, use a Light-Cure Acrylic (LCA) stone repair kit or clear UV epoxy with clear curing tape for a crystal-clear, durable fill.
- ✓Always degrease the chipped area with 91% isopropyl alcohol and let dry completely—never use oily or citrus cleaners before applying resin.
- ✓Slightly overfill (dome) the resin above the stone surface; once fully cured rock-hard, shave it flush with a fresh razor blade held at a 45-degree angle.
- ✓Finish by wet-sanding with 1500 to 3000 grit micro-abrasive sandpaper and polish with polishing paste to match the surrounding stone sheen.
- ✓For severe fractures near cooktops, structural breaks, or chips over 1 inch wide, consult professional stone fabricators for seamless color-matched polyester resining.
Granite and quartz are celebrated as two of the hardest, most resilient kitchen surfaces on Earth. However, even high-end stone isn't completely invincible. An accidental bang from a heavy cast-iron skillet, a slipped ceramic Dutch oven lid, or a dropped wine bottle against the edge of an undermount sink can cause a small flake of stone to pop off, leaving an unsightly, sharp chip.
The good news? You don't need to replace your entire countertop slab. In fact, professional stone fabricators at AGS Stones & Cabinets in Duluth and Alpharetta, GA use simple resin bonding techniques that you can replicate at home. Follow this illustrated, step-by-step wikiHow-style guide to make your countertop edge look and feel factory-fresh again.
🧰 Tools & Materials Checklist
Method 1: Re-Attaching the Original Stone Fragment
If you heard the impact and found the small piece of stone on the floor or inside the sink, congratulations! Re-bonding the original natural crystal fragment always creates the most invisible repair because the colors, veins, and minerals match 100%.
Test Fit the Fragment
Dry-fit the chipped piece into the void with tweezers. Check that it seats flush and level without rocking. Make sure no crushed stone dust is trapped underneath preventing it from seating fully.
Degrease with Isopropyl Alcohol
Dip a cotton swab in 91% isopropyl alcohol and clean both the countertop cavity and the broken fragment. Allow it to air-dry completely for 5 minutes.
Apply Adhesive & Press Firmly
Apply a micro-drop of clear cyanoacrylate (Super Glue gel) or clear two-part liquid epoxy into the center of the chip. Press the fragment firmly into place for 60 to 90 seconds. A tiny bead of glue will squeeze out around the edges—leave it alone for now until it hardens completely.
Method 2: Filling a Missing Void with Clear Light-Cure Acrylic
In 80% of kitchen accidents, the broken chip shattered into dust or washed down the garbage disposal. Here is how to rebuild the missing corner or edge using a clear UV Light-Cure Acrylic (LCA) resin kit:
Mask the Perimeter with Painter's Tape
Apply blue painter's tape approximately 1 millimeter away from the edges of the chip. This shields the surrounding polished stone surface from accidental scuffs and prevents excess resin from spreading.
Fill the Chip with a Slight "Dome"
Using the precision syringe included in your repair kit, slowly inject the clear acrylic gel into the cavity. Allow the resin to rise just slightly above the countertop surface (approximately 1 millimeter dome). Resin shrinks slightly as it cures; overfilling prevents a concave dip.
Place Curing Strip & Apply Blue UV Light
Place the clear plastic curing strip directly over the wet gel and press down gently to smooth out air bubbles. Shine the handheld LED curing light onto the patch from 1/2 inch away for 2 to 3 minutes. The acrylic will transform from liquid to glass-hard solid.
Method 3: Razor Shaving & Polishing to a Factory Mirror Sheen
The secret to a seamless repair that you can't feel with your fingertip is the razor-blade shaving technique:
- Peel off the curing strip: Gently lift away the clear plastic strip and remove the surrounding blue painter's tape.
- Hold the razor blade at 45 degrees: Take a brand-new, single-edge steel razor blade. Hold it firmly with both hands at a 45-degree angle against the counter.
- Shave with light, steady strokes: Shave across the raised resin dome in short, scraping motions. Do not gouge into the stone. Because the steel blade is softer than quartz and granite minerals, it will cleanly slice away the hardened resin without scratching your countertop polish.
- Wet sand with micro-grit: Wrap a small piece of 2000-grit wet sandpaper around your finger. Add a drop of water and buff the patch with light circular pressure for 30 seconds.
- Apply stone polishing paste: Finish by applying a dime-sized amount of diamond stone polishing cream (or automobile clear-coat paste) and buff vigorously with a clean microfiber cloth until the patch reflects ambient kitchen light identically to the stone.
💎 Repairing Natural Granite Chips
Natural granite has multifaceted mineral crystals (quartz, feldspar, mica). Clear resin works like magic on granite because the clear acrylic acts like a magnifying lens, allowing the underlying stone minerals and colors to refract through naturally.
⚡ Repairing Engineered Quartz Chips
Engineered quartz (like pure white Calacatta) is more uniform in background color. For solid white quartz, choose a repair kit that includes white and gray pigment powders so you can tint the clear gel before curing to match your exact slab shade.
Need Professional Stone Restoration or Replacement?
If your countertop has sustained severe fractures, large edge breaks, or you are ready to upgrade to brand-new factory-direct granite or quartz, our Duluth fabrication team is here to help with free in-home digital laser estimates.
Serving the Greater Metro Atlanta Community
AGS Stones & Cabinets provides factory-direct fabrication, laser templating, and professional stone installation across all surrounding Georgia neighborhoods:
Common Questions from Homeowners
Can you fix a chipped granite or quartz countertop yourself?+
Yes. Minor chips on countertop edges, sink rims, and corners (under 1/2 inch wide) are ideal for DIY repair using a light-cure acrylic (LCA) stone repair kit or transparent two-part epoxy. When shaved flush with a razor blade and polished, small repairs are virtually undetectable.
What is the best glue or epoxy for repairing countertop chips?+
If you still have the broken stone fragment, thin cyanoacrylate (gel-formula super glue) or clear two-part liquid epoxy bonds the chip back with an ultra-thin joint. If the chip is missing and you must fill the cavity, a Light-Cure Acrylic (LCA) kit (like Hxtal, Tenax, or ProCaliber) that hardens with a small LED blue light gives the clearest, non-yellowing repair.
How long does a stone countertop chip repair take to dry?+
Light-cure acrylics cure within 2 to 5 minutes under an LED curing light. Standard two-part epoxy sets in 15 to 30 minutes and cures fully within 4 to 12 hours. We recommend waiting at least 12 hours before heavy kitchen prep or moisture contact.
When should I call a professional fabricator instead of fixing it myself?+
You should contact a professional stone fabricator if: 1) The chip is larger than 1 inch; 2) A fissure crack has propagated into the slab body; 3) The chip occurred along a cooktop cutout or structural seam; or 4) The stone is an exotic veined quartzite that requires specialized color-matched pigment mixing.
Ready to Experience the AGS Stones Difference?
Skip the retail middlemen. Visit our Duluth showroom to hand-select your exact full-size stone slabs, or schedule a free in-home digital laser templating estimate.
Explore Related Services & Local Guides
Core Fabrication Services
Local Service Hubs
Remodeling Guides
- → How to Clean and Seal Granite Countertops: The Step-by-Step Care Guide
- → Granite vs. Quartz: Which Stone Does Your Kitchen Actually Need?
- → How to Prepare Your Kitchen for Countertop Installation: The Ultimate Checklist
- → How to Clean & Care for Custom Cabinets: Keeping Finishes Like New
- → How to Measure Countertops for a Fast & Accurate Estimate: Step-by-Step
- → How Much Do Granite & Quartz Countertops Cost in Atlanta & Duluth, GA?
- → How to Choose the Best Countertop Edge Profile: Eased, Bullnose, Ogee & Waterfall Guide
- ✦ Return to All Guides & How-Tos
Related How-To Guides
Continue learning with more step-by-step homeowner tutorials
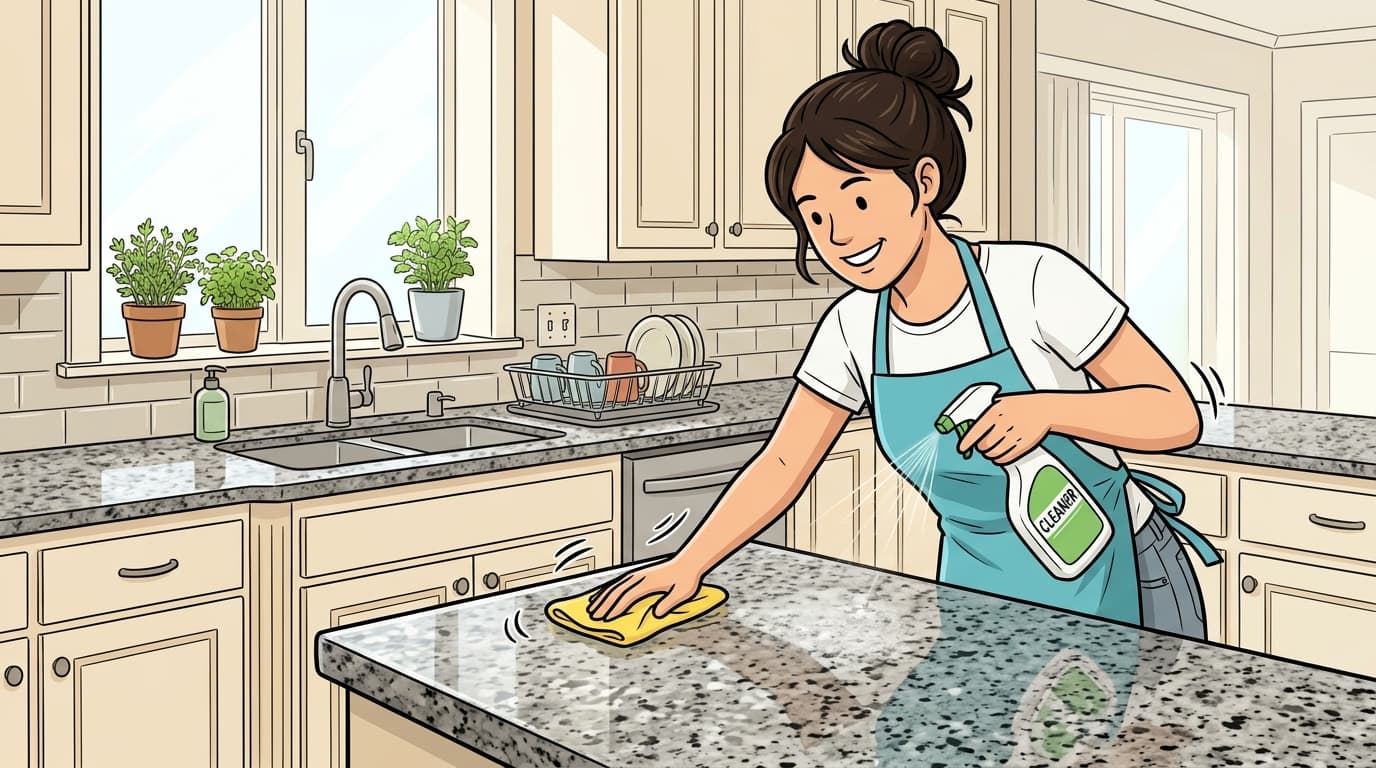
How to Clean and Seal Granite Countertops: The Step-by-Step Care Guide
Step-by-step wikiHow-style guide to cleaning, sanitizing, and sealing natural granite. Master the water droplet test, remove stubborn water rings, and protect your stone factory-fresh.
Read Guide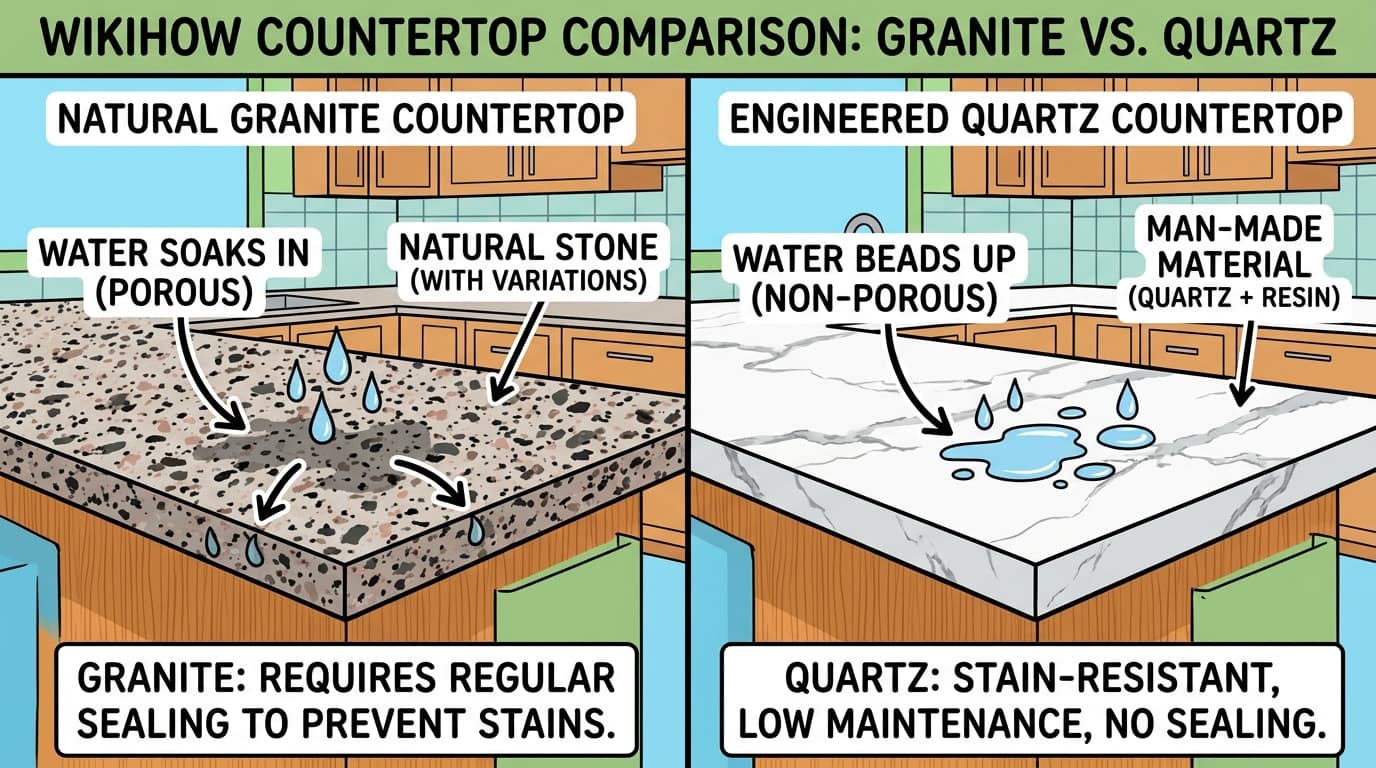
Granite vs. Quartz: Which Stone Does Your Kitchen Actually Need?
Confused between natural granite and engineered quartz? Learn the real differences in heat resistance, daily maintenance, seam visibility, and price per square foot.
Read Guide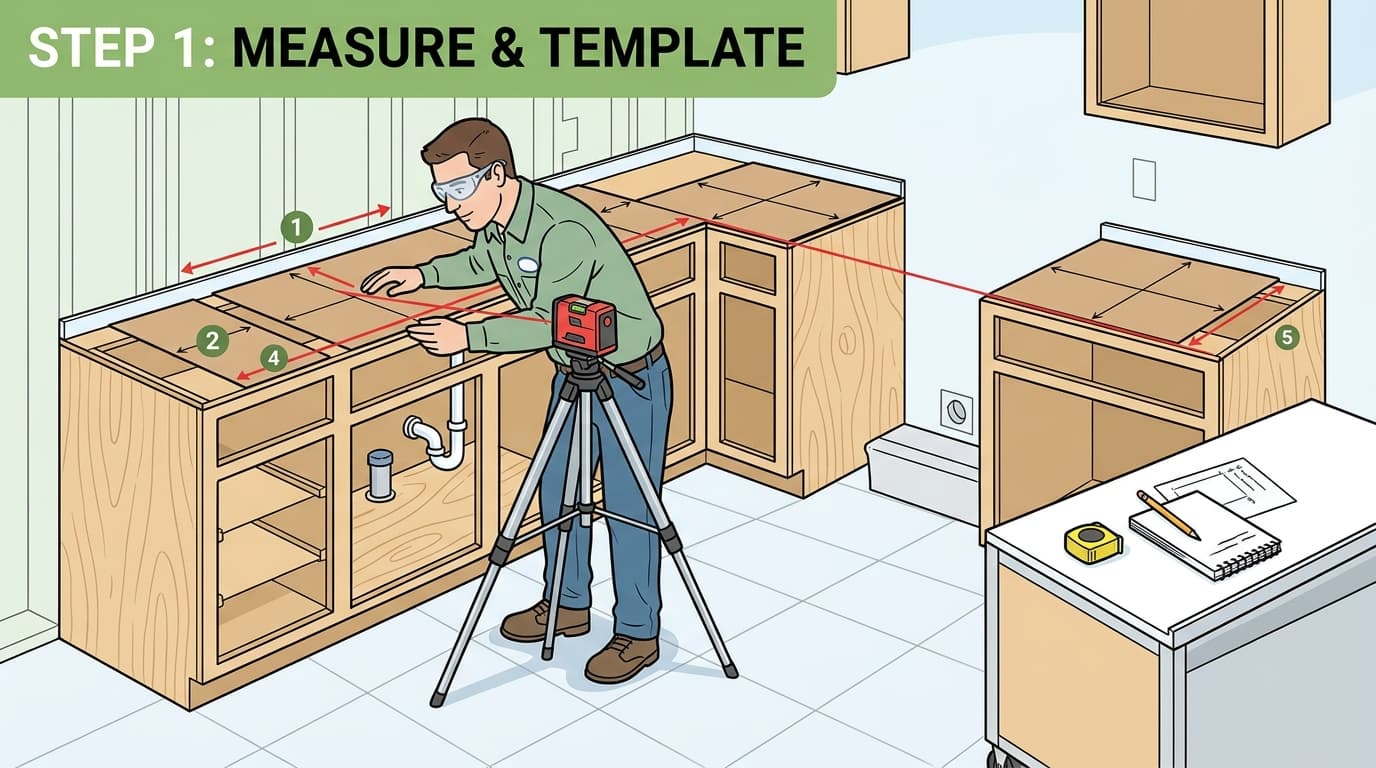
How to Prepare Your Kitchen for Countertop Installation: The Ultimate Checklist
Step-by-step preparation guide for laser templating and install day. Learn how to clear base cabinets, coordinate plumbers, disconnect sinks, and ensure a flawless fit.
Read Guide